
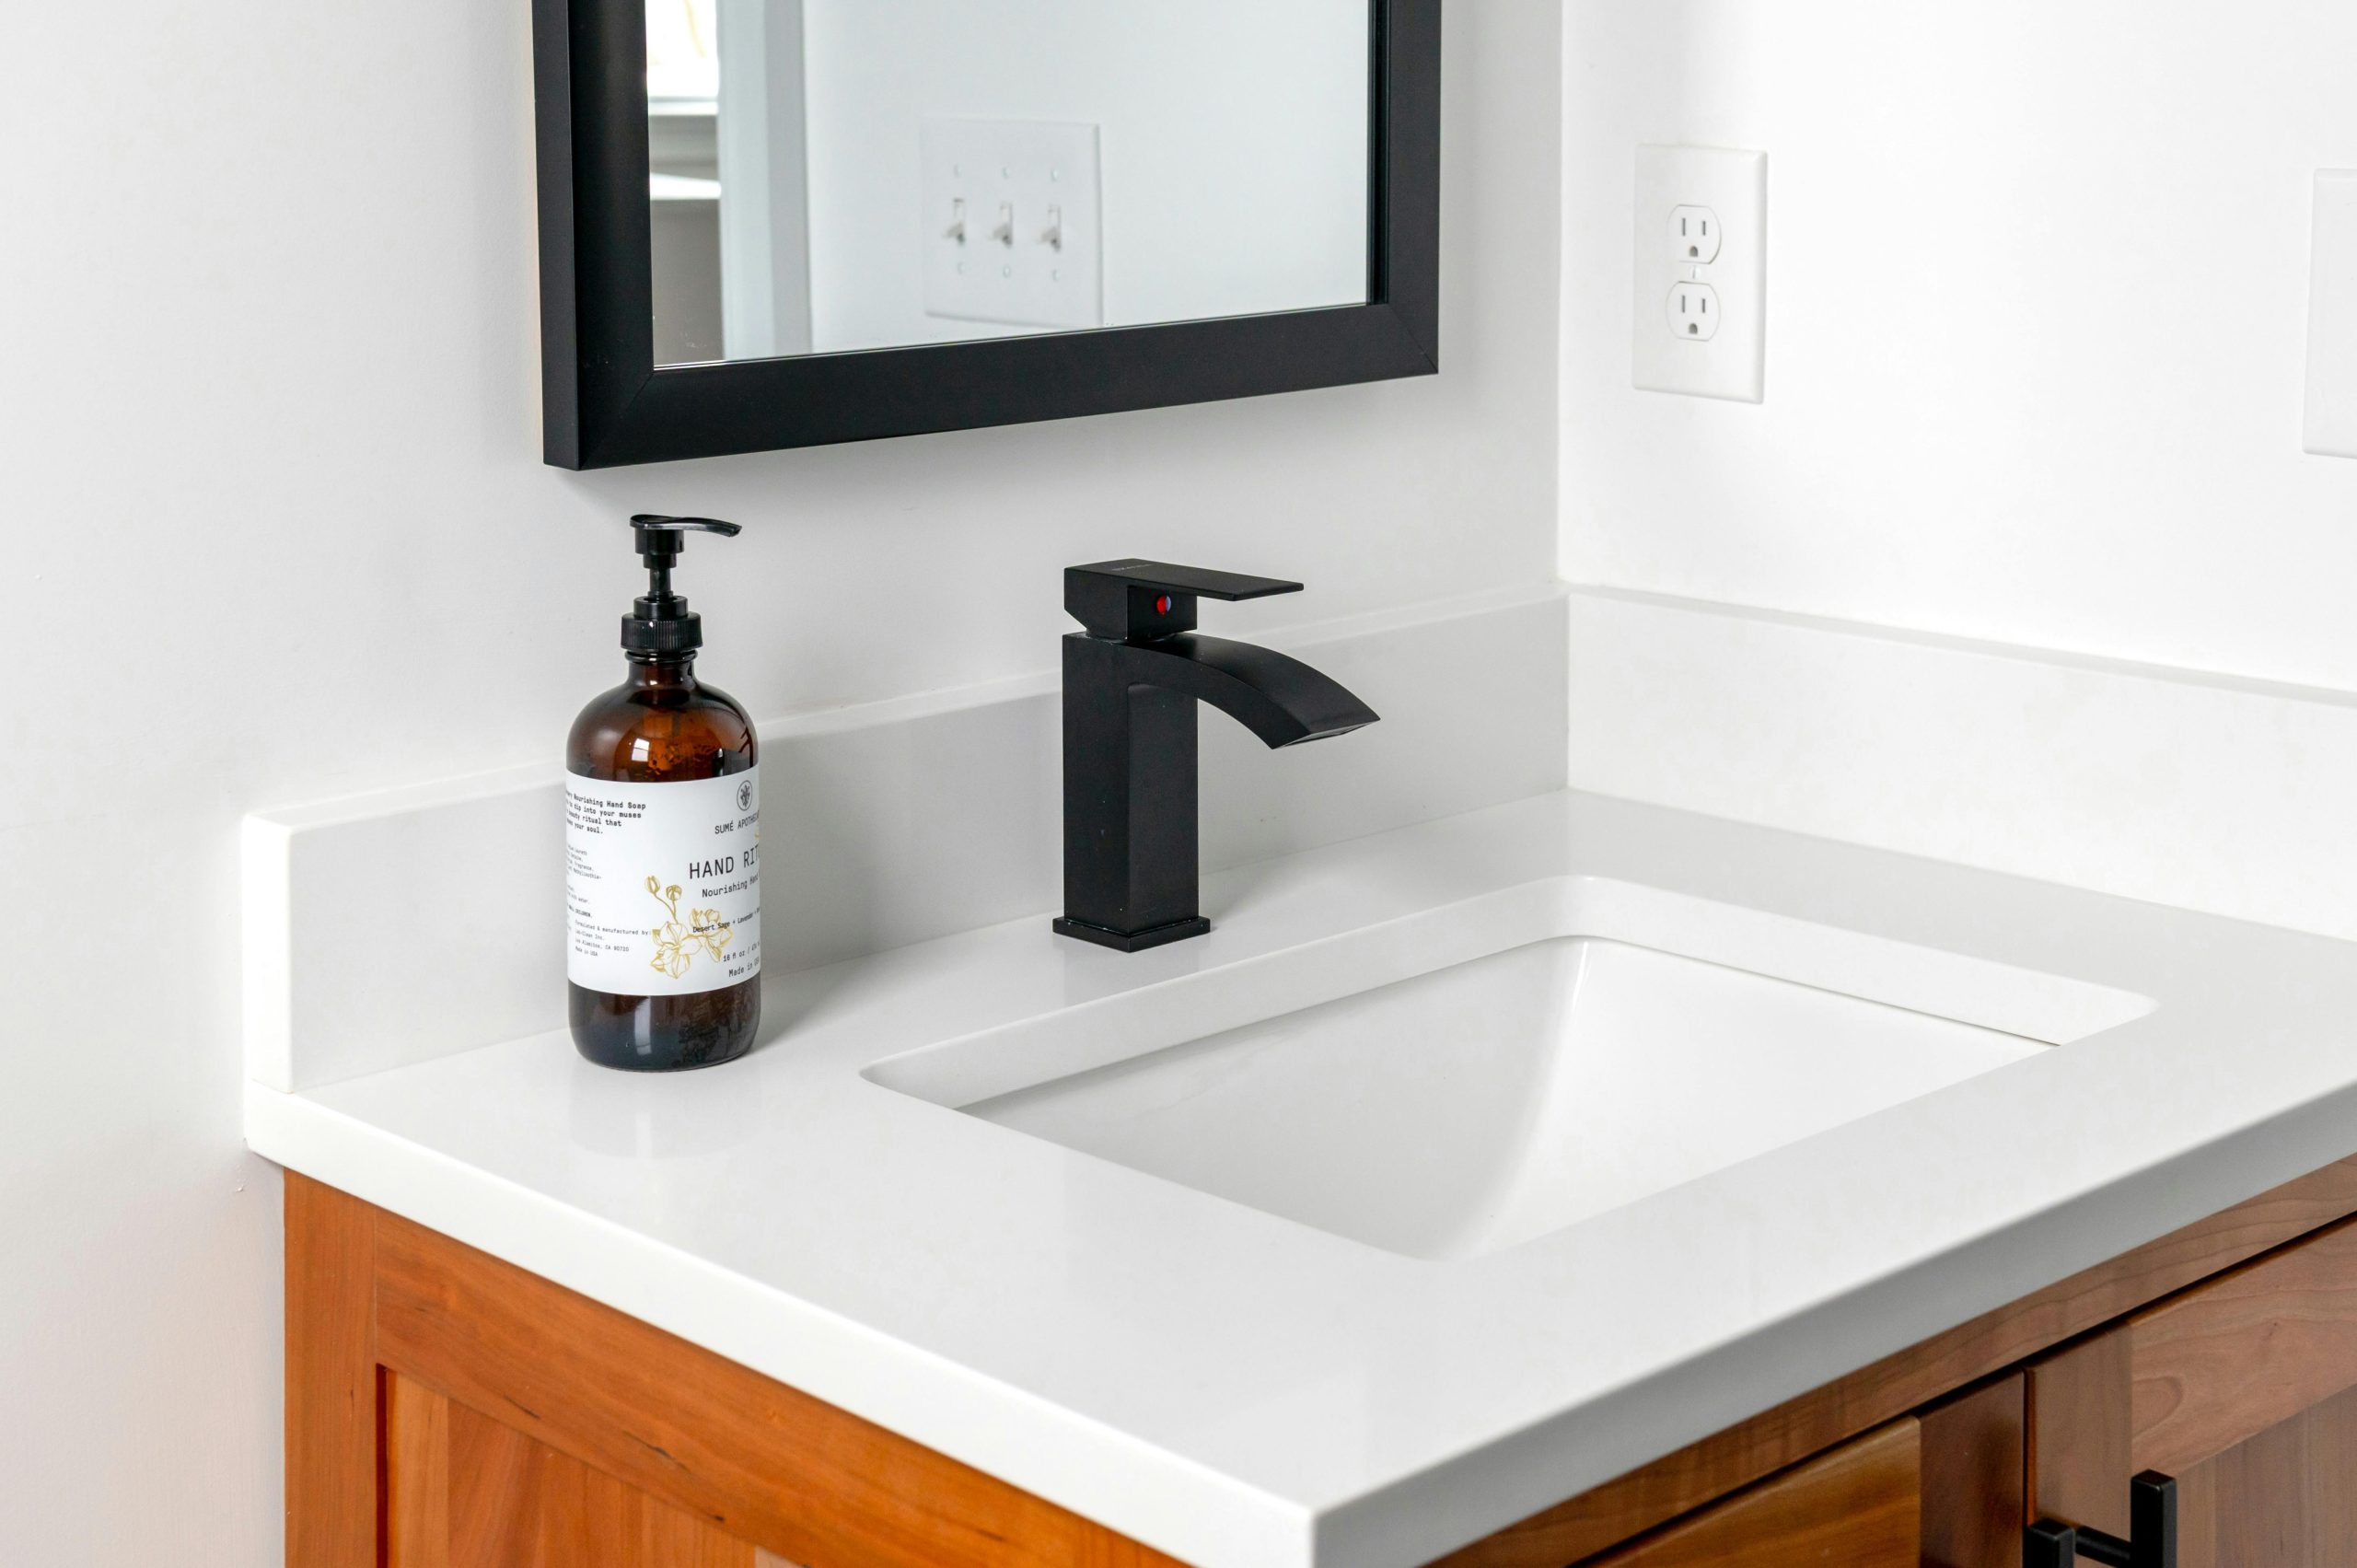
Installing a bathroom faucet is a practical home improvement project that can improve both function and appearance. With the right tools and a clear process, many homeowners can complete this job in a few hours.
This guide explains how to install a faucet in a bathroom sink, including preparation, installation steps, and practical tips based on real-world experience.
Tools and Materials You’ll Need
Before starting, gather the following:
- New bathroom faucet
- Adjustable wrench
- Basin wrench (helpful for tight spaces)
- Plumber’s tape
- Bucket or towel
- Cleaning cloth
- Silicone sealant (if required by the faucet)
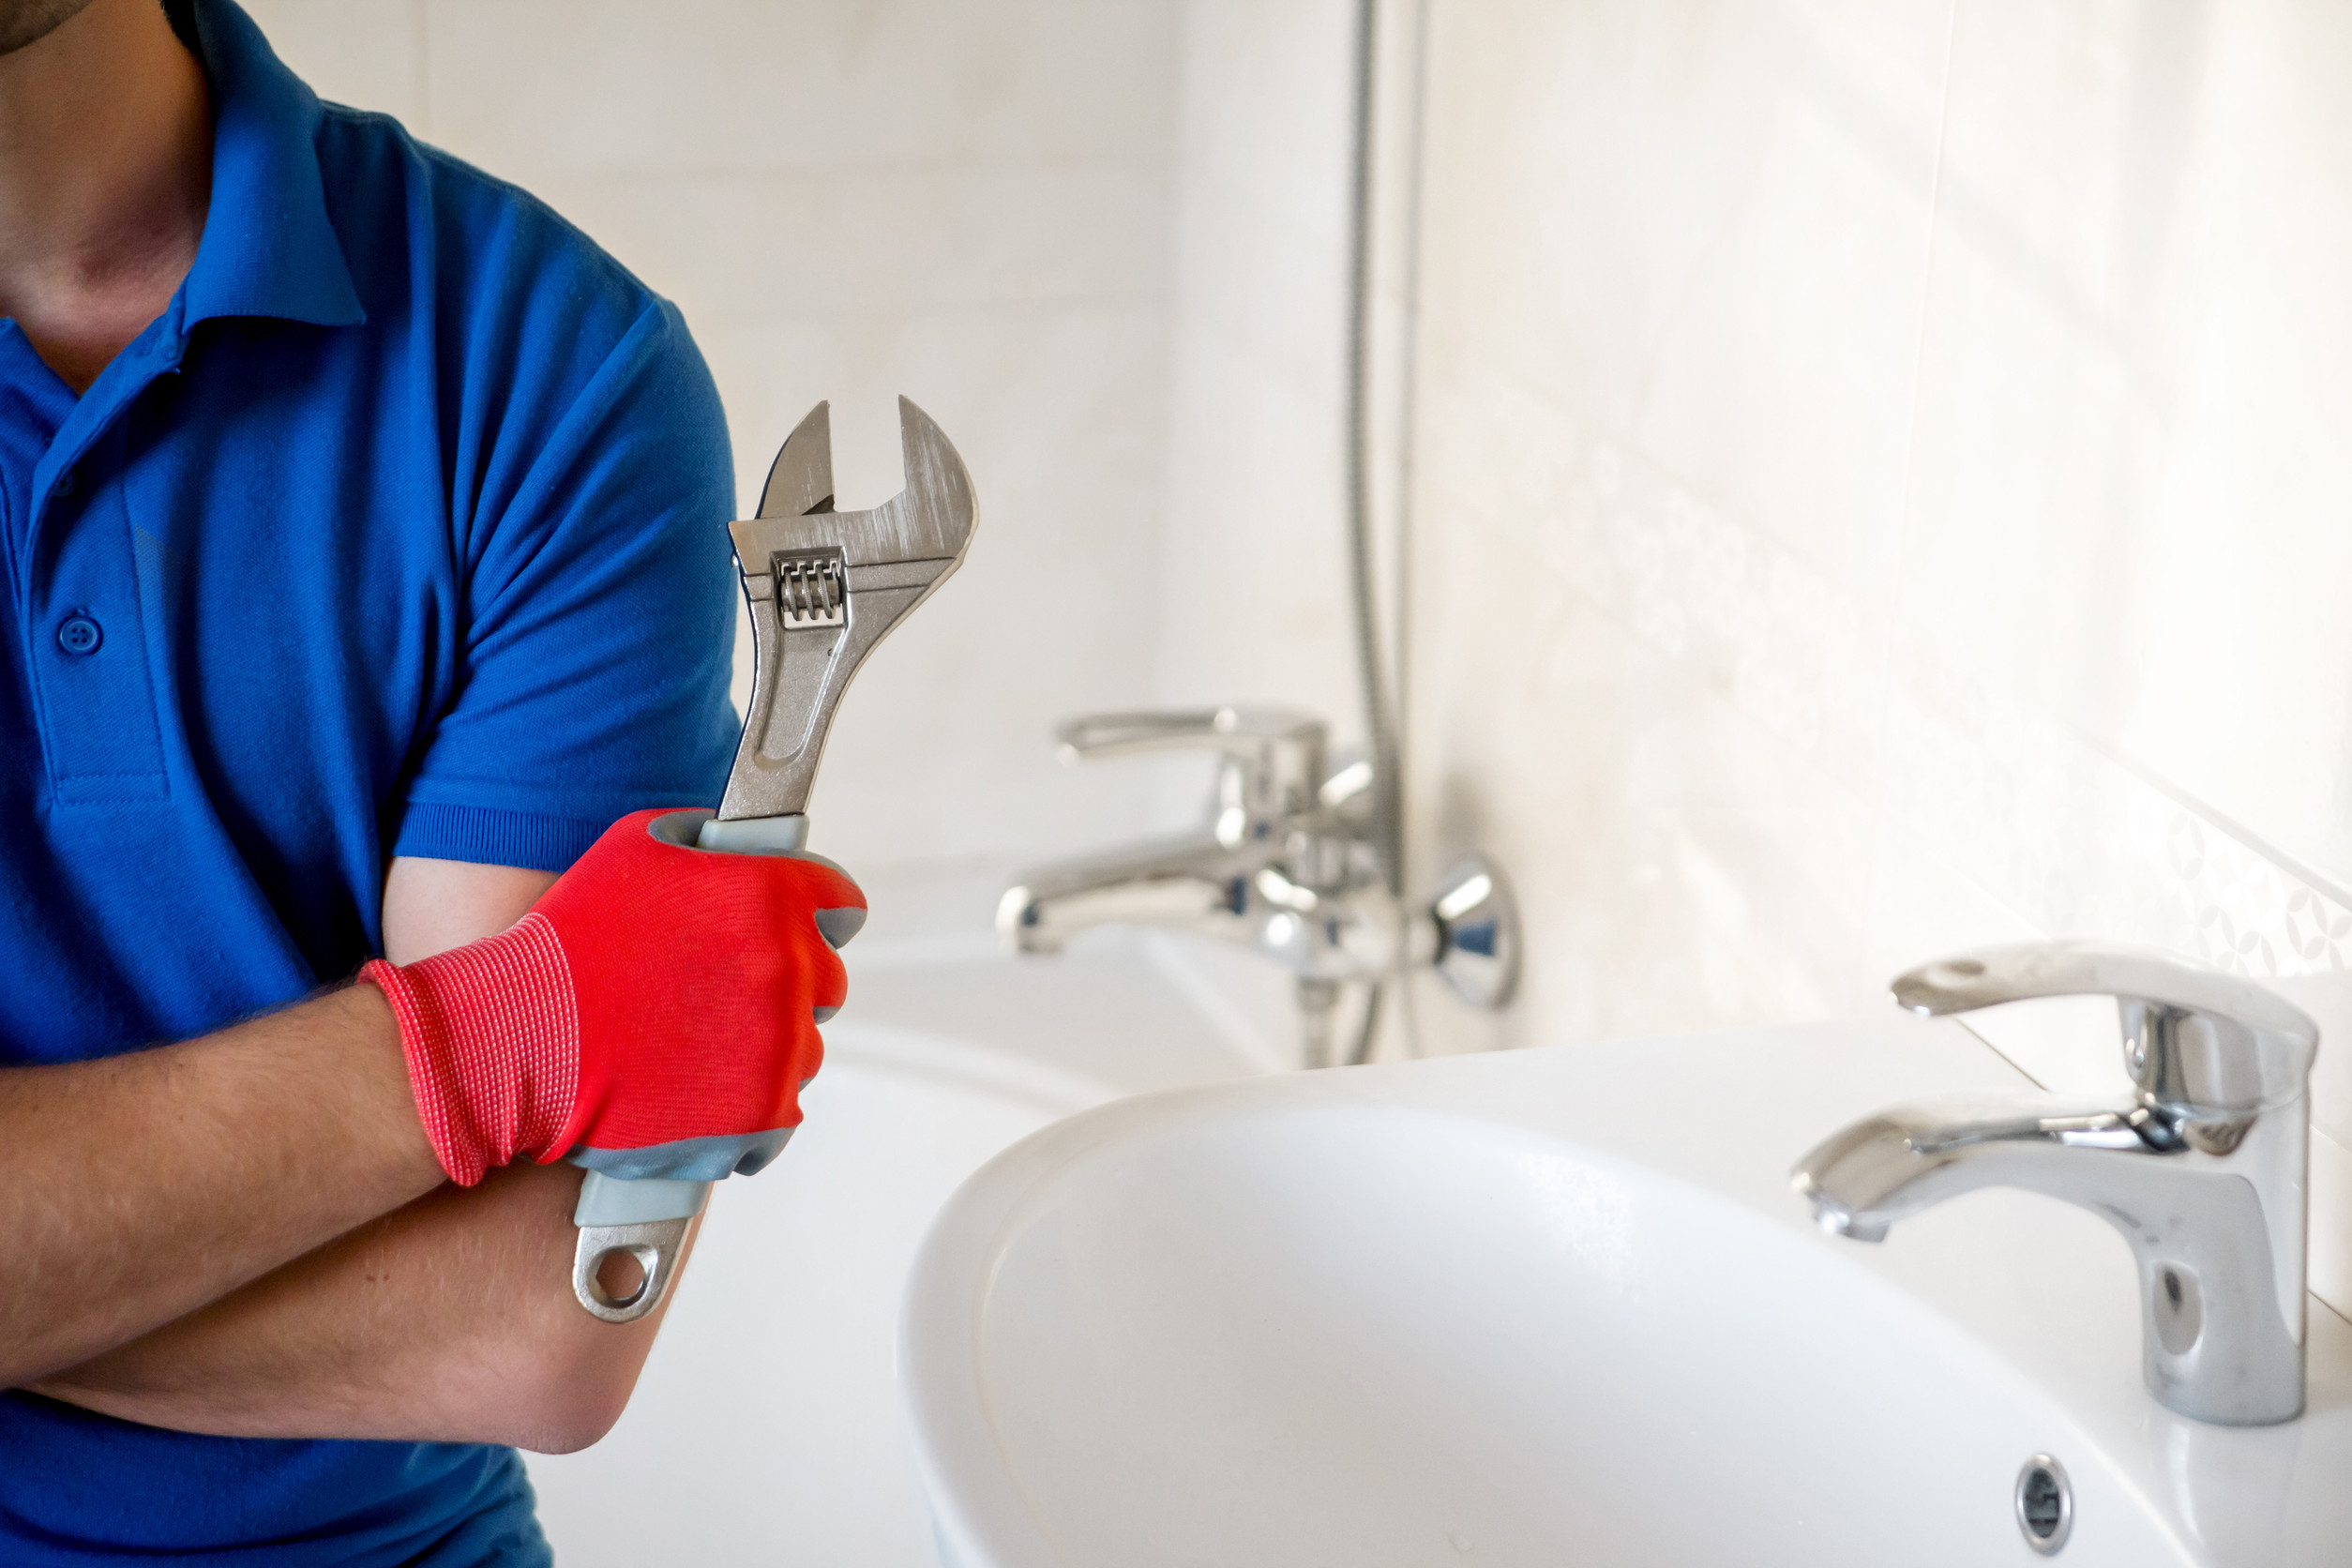
Step-by-Step: How to Install a Bathroom Faucet
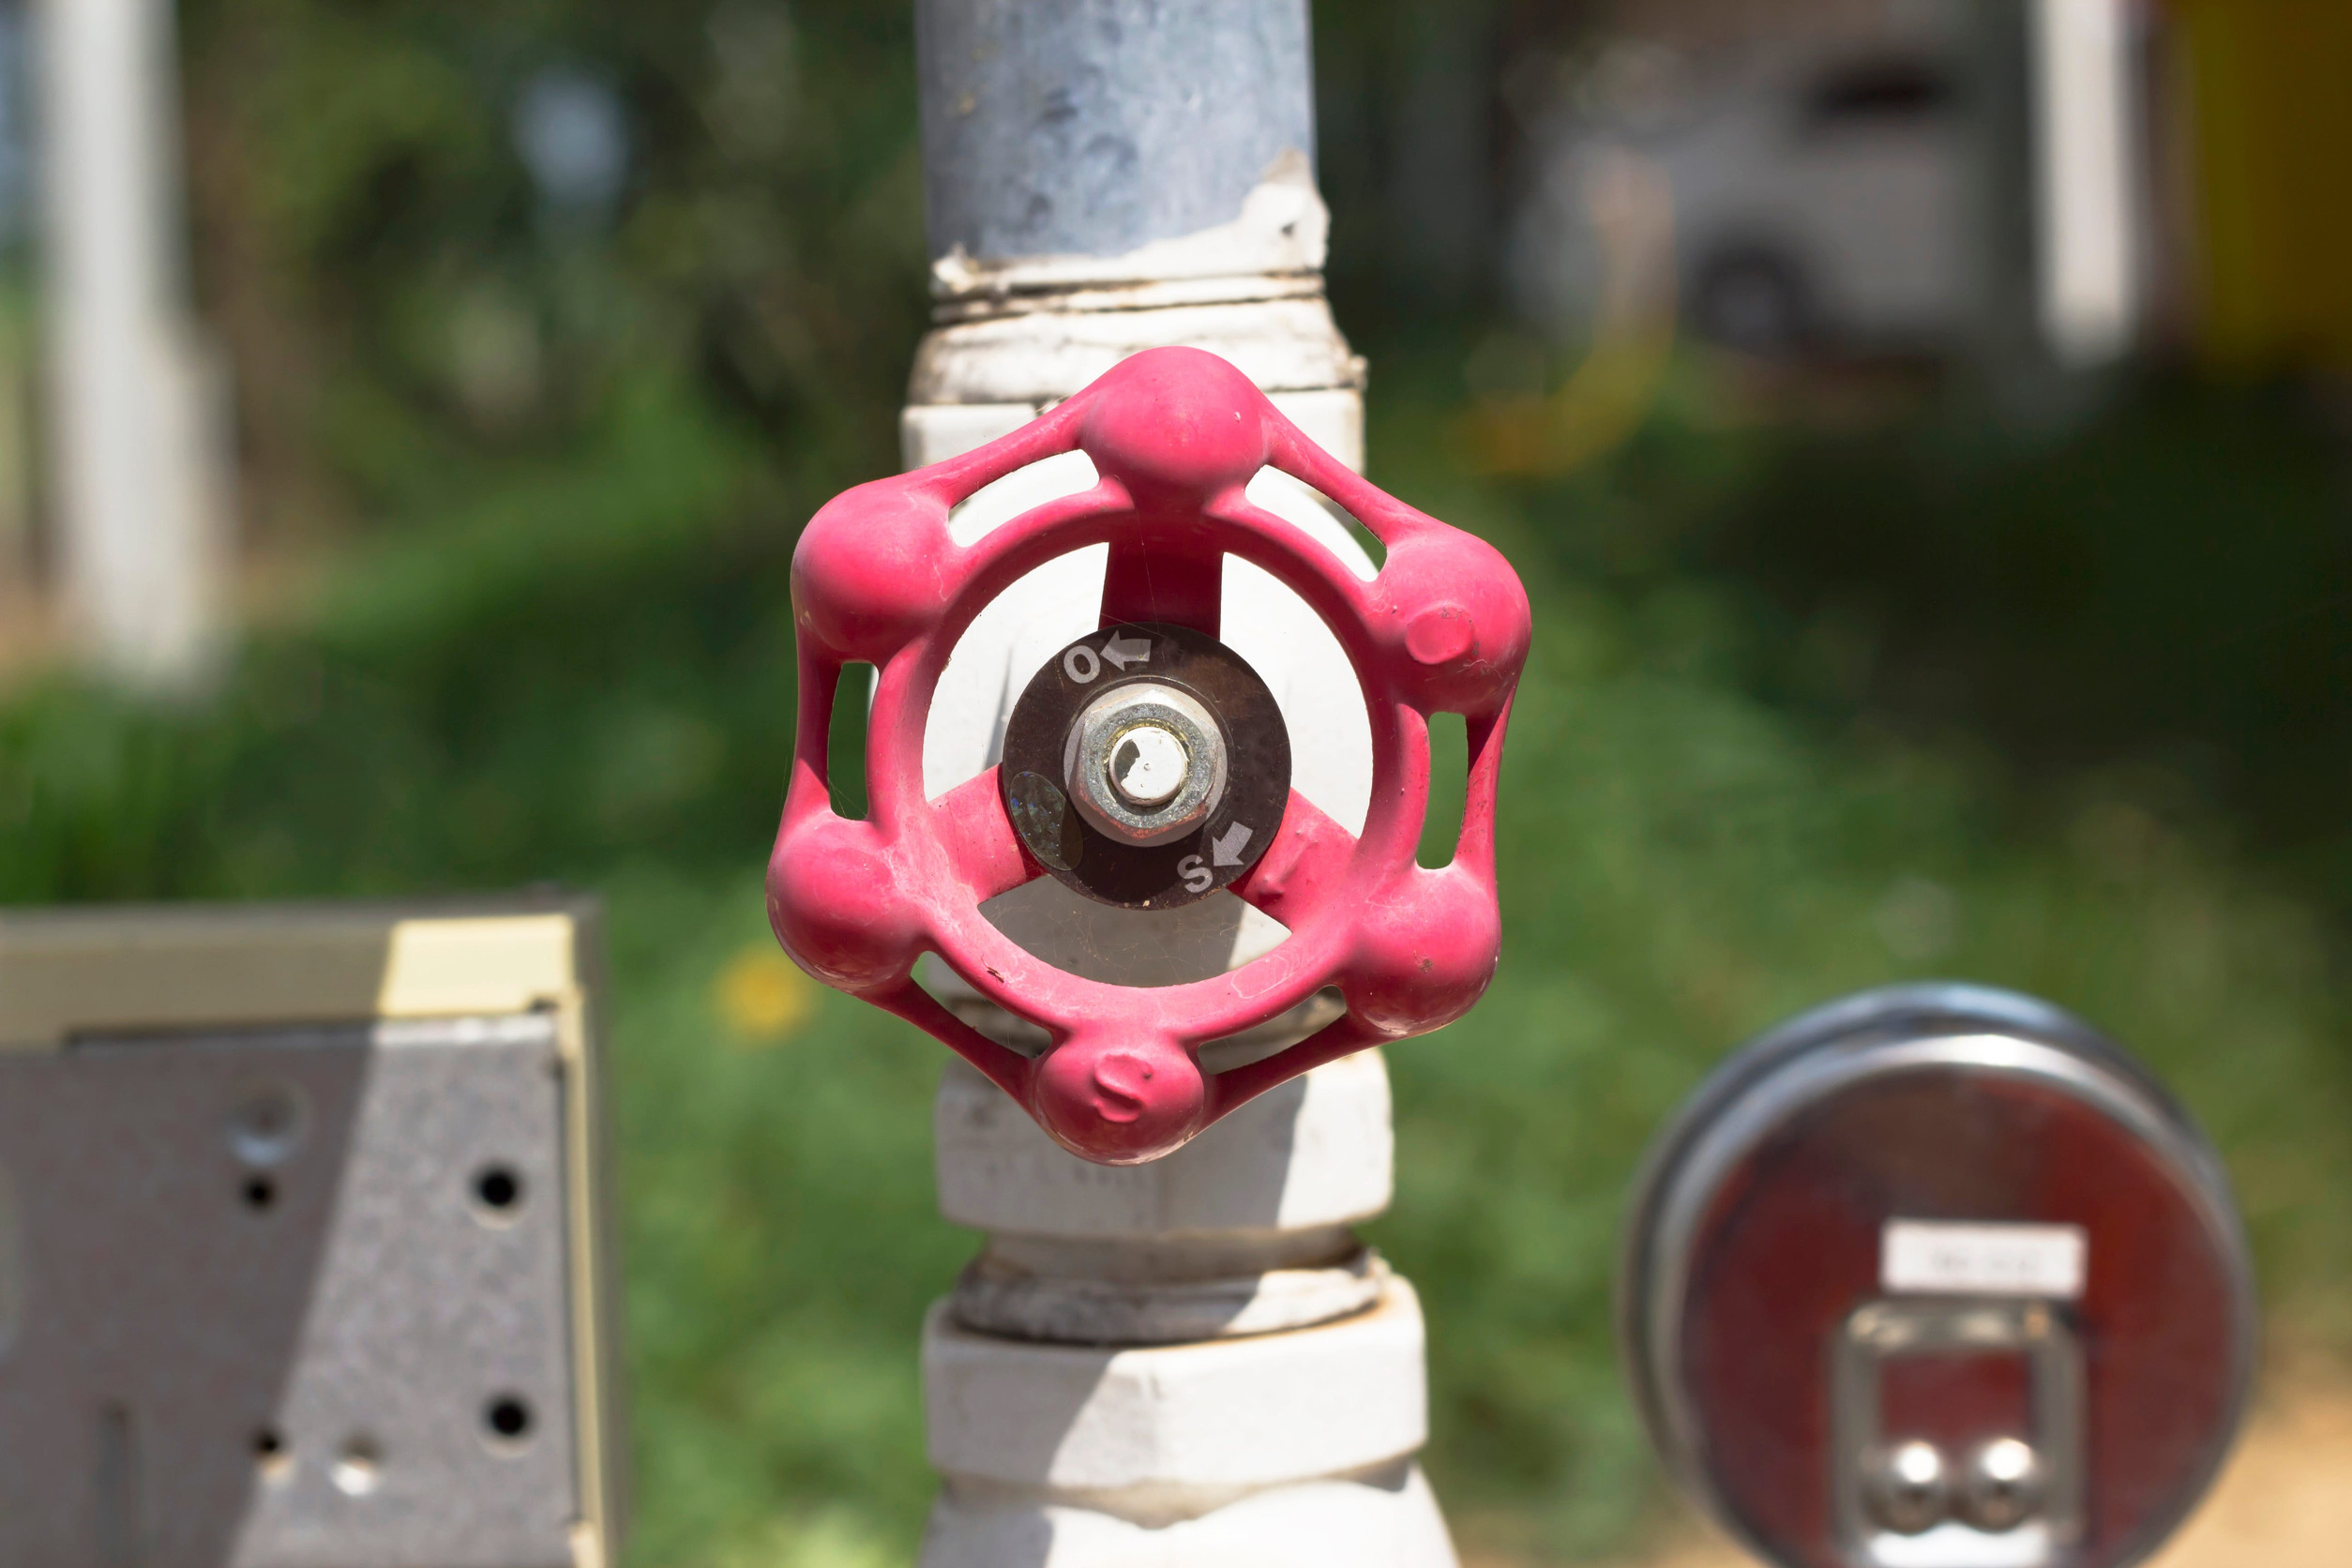
1. Turn Off the Water Supply
Shut off the hot and cold water valves under the sink. Turn on the faucet to release any remaining pressure in the lines.
2. Disconnect the Water Lines
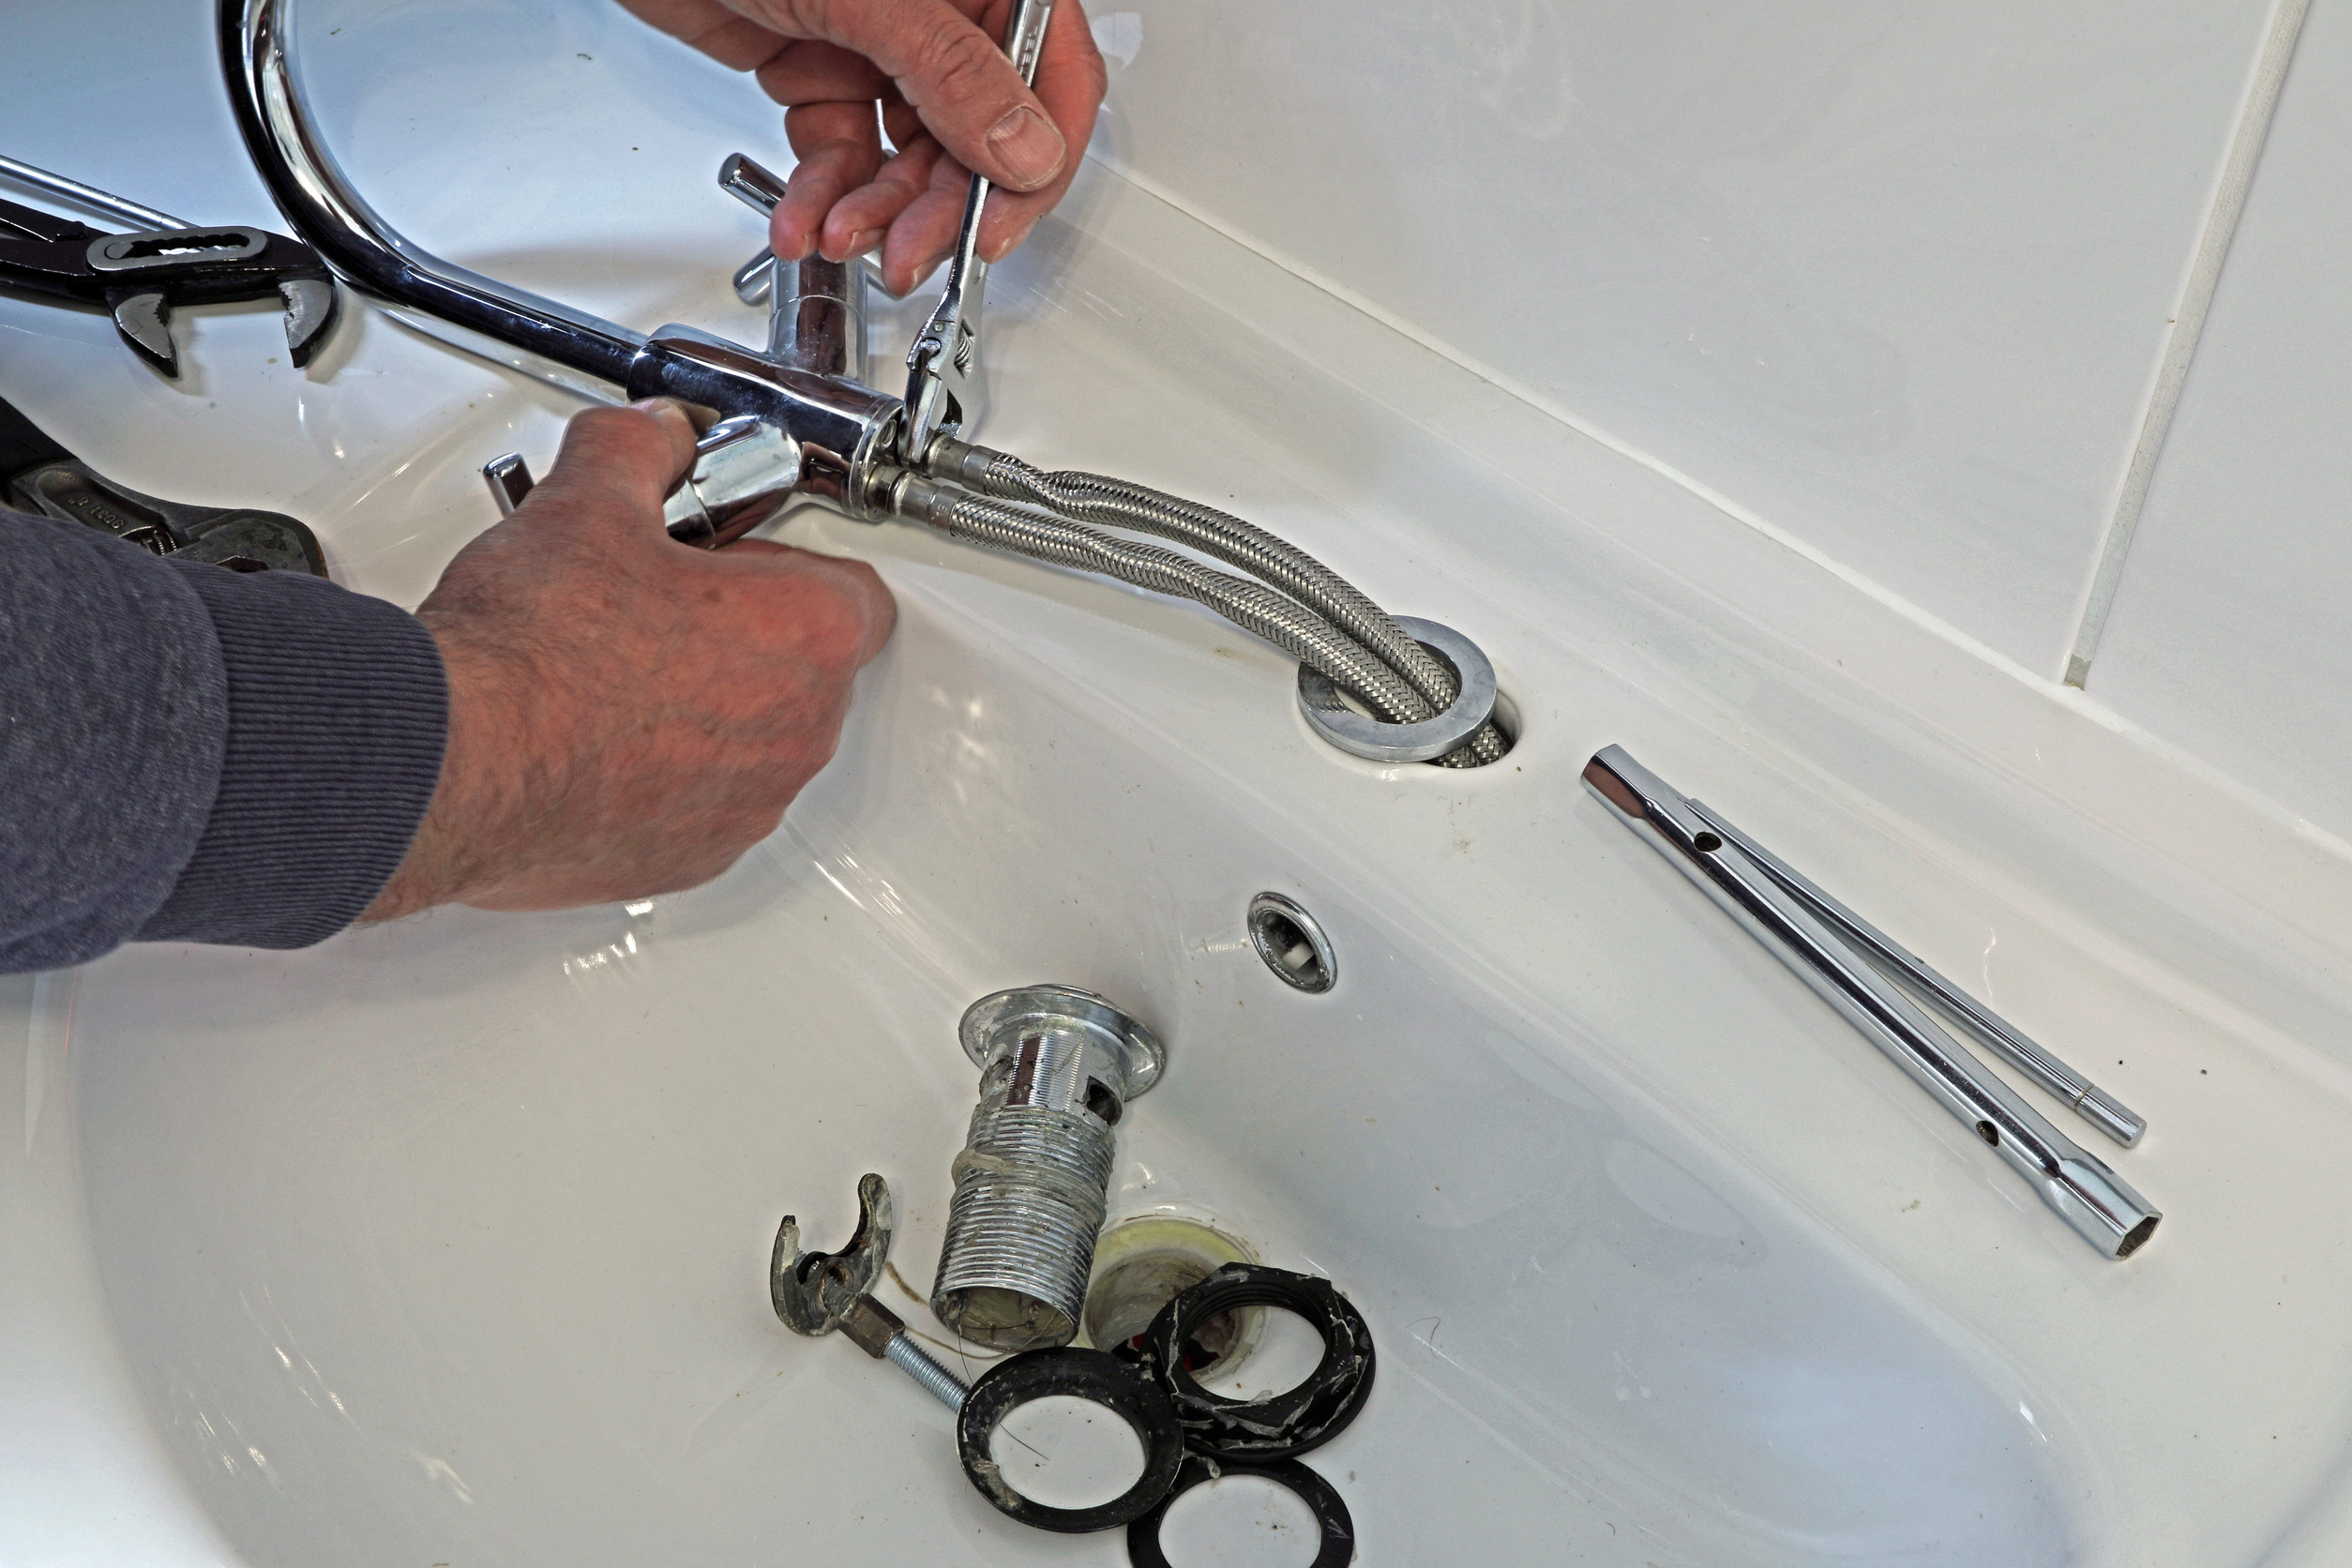
Place a bucket or towel under the connections to catch any water. Use a wrench to disconnect the supply lines from the existing faucet.
3. Remove the Old Faucet
Loosen the mounting nuts located underneath the sink. Once removed, lift the old faucet out from the top. Clean the sink surface thoroughly to remove any buildup or residue.
4. Install the New Faucet
Insert the new faucet into the sink openings. If the faucet includes a gasket, position it properly. If not, apply a small amount of sealant if recommended. Secure the faucet from underneath using the provided mounting hardware.
5. Connect the Water Supply Lines
Attach the hot and cold supply lines to the corresponding valves. Apply plumber’s tape to threaded connections to help prevent leaks. Tighten the connections securely, but avoid over-tightening.
6. Turn the Water Back On and Test
Slowly turn the water supply back on. Run the faucet and check all connections for leaks. Make adjustments if necessary.
Learn how to fix a dripping bathtub faucet.
Quick Installation Overview
| Step | Task | Key Tip |
|---|---|---|
| 1 | Turn off water | Confirm water is fully shut off |
| 2 | Disconnect lines | Use a bucket to catch water |
| 3 | Remove old faucet | Clean the sink surface |
| 4 | Install new faucet | Ensure proper alignment |
| 5 | Connect supply lines | Use plumber’s tape |
| 6 | Test for leaks | Check all connections carefully |
Common Mistakes to Avoid
- Forgetting to fully shut off the water
- Connecting hot and cold lines incorrectly
- Over-tightening fittings, which can damage components
- Skipping sealant when needed
- Failing to check for leaks after installation
Find out how to replace a bathroom faucet cartridge.
Practical Tips
- Take a quick photo of the existing setup before disconnecting anything
- A basin wrench makes it easier to reach mounting nuts in tight spaces
- If supply lines look worn or outdated, replace them during installation
- Work slowly when tightening connections to avoid stripping threads
When to Call a Professional
Consider professional help if you encounter:
- Corroded or stuck fittings
- Persistent leaks after installation
- Unusual pipe configurations
- Limited access under the sink
Upgrade your bathroom with expert faucet installation from Blue Moon Plumbing, ensuring a precise fit, leak-free performance, and long-lasting reliability.
Final Thoughts
Installing a bathroom faucet is a straightforward upgrade that can make a noticeable difference in your bathroom. Careful preparation and attention to detail will help ensure a successful installation.
FAQ: Bathroom Faucet Installation
How long does it take to install a bathroom faucet?
Most installations take between one and two hours, depending on experience and the condition of existing plumbing.
Can I install a faucet without professional help?
Yes, this is a manageable project for many homeowners with basic tools.
Do I need plumber’s tape?
It is recommended for threaded connections to help create a reliable seal.
Why is my faucet leaking after installation?
Leaks are usually caused by loose fittings, missing tape, or improper alignment.
Should I replace supply lines during installation?
Replacing older supply lines can help prevent future leaks and improve reliability.