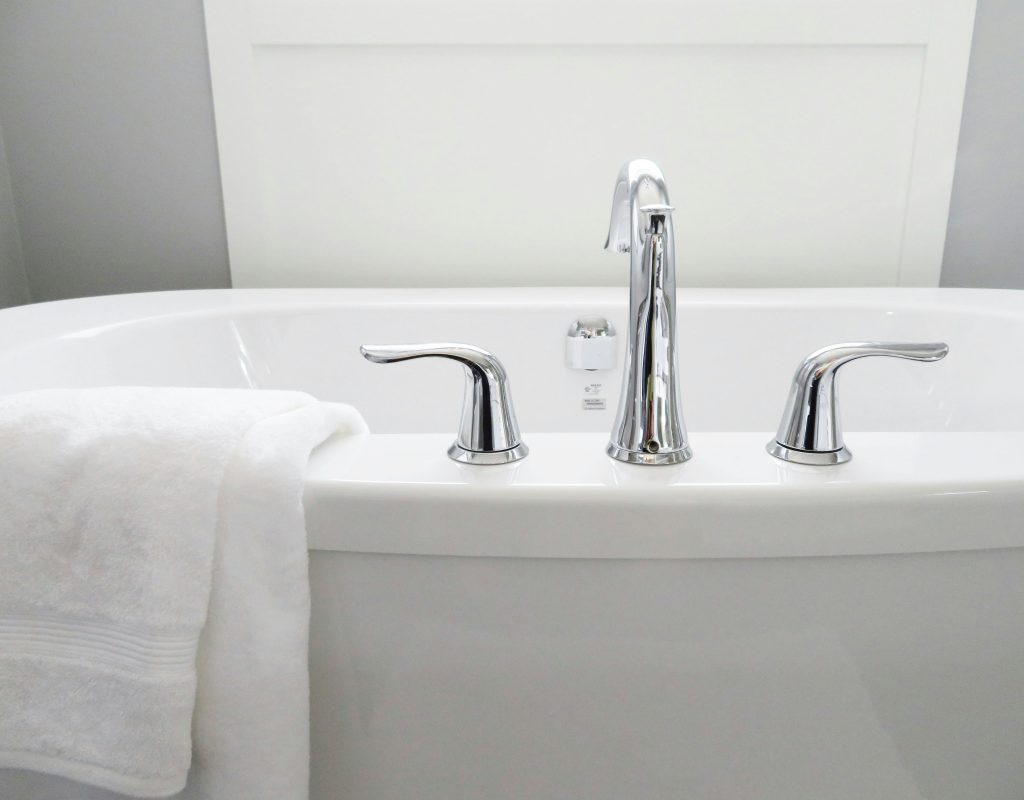
A dripping bathtub faucet may seem like a minor nuisance, but those steady drops of water add up fast. Eventually, gallons of water will be wasted each day. Beyond the cost, a constant drip can also stain your tub and encourage mold growth. The good news? With a little know-how and the right tools, fixing a dripping bathtub faucet is usually a straightforward DIY project.
Why Is My Bathtub Faucet Dripping?
Most of the time, a leaking faucet is caused by worn-out washers, corroded valve seats, or damaged cartridges inside the faucet assembly. Over time, these parts break down due to constant water pressure and mineral buildup. If left unchecked, the problem will get worse and potentially affect water pressure throughout your bathroom.
Tools You’ll Need
Before you begin, gather the following tools and supplies:
-
Adjustable wrench, also known as a crescent wrench
-
Screwdriver set
-
Replacement washers or cartridge (depending on faucet type)
-
Towel or rag to catch drips
Step-by-Step Guide to Fixing a Dripping Bathtub Faucet
1. Turn Off the Water Supply
Start by shutting off the water supply to your bathtub. Look for the shutoff valves near the tub, or turn off your home’s main water line if necessary. Open the faucet to release any remaining water in the line.
2. Remove the Faucet Handle
Use a screwdriver to remove the handle. Some handles have decorative caps that you’ll need to gently pry off to access the screw. Once the screw is out, carefully pull the handle away from the wall.
3. Take Out the Stem or Cartridge
Behind the handle, you’ll find either a stem (in compression faucets) or a cartridge (in modern single-handle faucets). Use a wrench to loosen and remove it.
4. Inspect and Replace Parts
Check the washer, O-ring, or cartridge for signs of wear. If they’re cracked, flattened, or corroded, replace them with new ones. Apply plumber’s grease to the new parts before reinstalling.
5. Reassemble the Faucet
Put the stem or cartridge back into place, reattach the handle, and tighten everything securely.
6. Restore the Water Supply
Turn the water back on and test the faucet. If the dripping has stopped, congratulations—you’ve fixed it! If it’s still leaking, the problem may be deeper in the plumbing and could require professional attention.
Bathtub Faucet Drip Troubleshooting Guide
| Cause | What’s Happening | Solution |
|---|---|---|
| Worn Washer or O-Ring | Washer flattens or cracks from constant pressure | Replace washer or O-ring |
| Damaged Cartridge | Cartridge inside the faucet wears out | Remove and install a new cartridge |
| Corroded Valve Seat | Metal valve seat wears down, preventing a seal | Clean or replace valve seat |
| Loose Parts | Handle, nut, or stem not tightened properly | Re-tighten connections with wrench/screwdriver |
| High Water Pressure | Excessive pressure forces water past the seal | Test water pressure and adjust if needed |
| Mineral Buildup | Hard water deposits block proper sealing | Clean parts, soak in vinegar, or replace |
Preventing Future Leaks
Regular maintenance will help extend the life of your faucet. Keep an eye out for early signs of wear, clean mineral deposits regularly, and don’t ignore small drips. Addressing plumbing issues quickly also prevents related problems, such as when your shower drain smells like sewage, which is often a sign of buildup or deeper plumbing concerns.
When to Call a Plumber
If you’ve replaced the washers or cartridge and your faucet still drips, or if you notice water damage around your tub, it’s time to call in the pros. Persistent leaks may indicate issues with water pressure, corroded pipes, or a faulty valve seat inside the plumbing system.
👉 Don’t let a small drip turn into a big headache. Trust the experts at Blue Moon Plumbing for reliable plumbing services to keep your bathroom fixtures and entire plumbing system in top shape. Contact us today to schedule your repair!