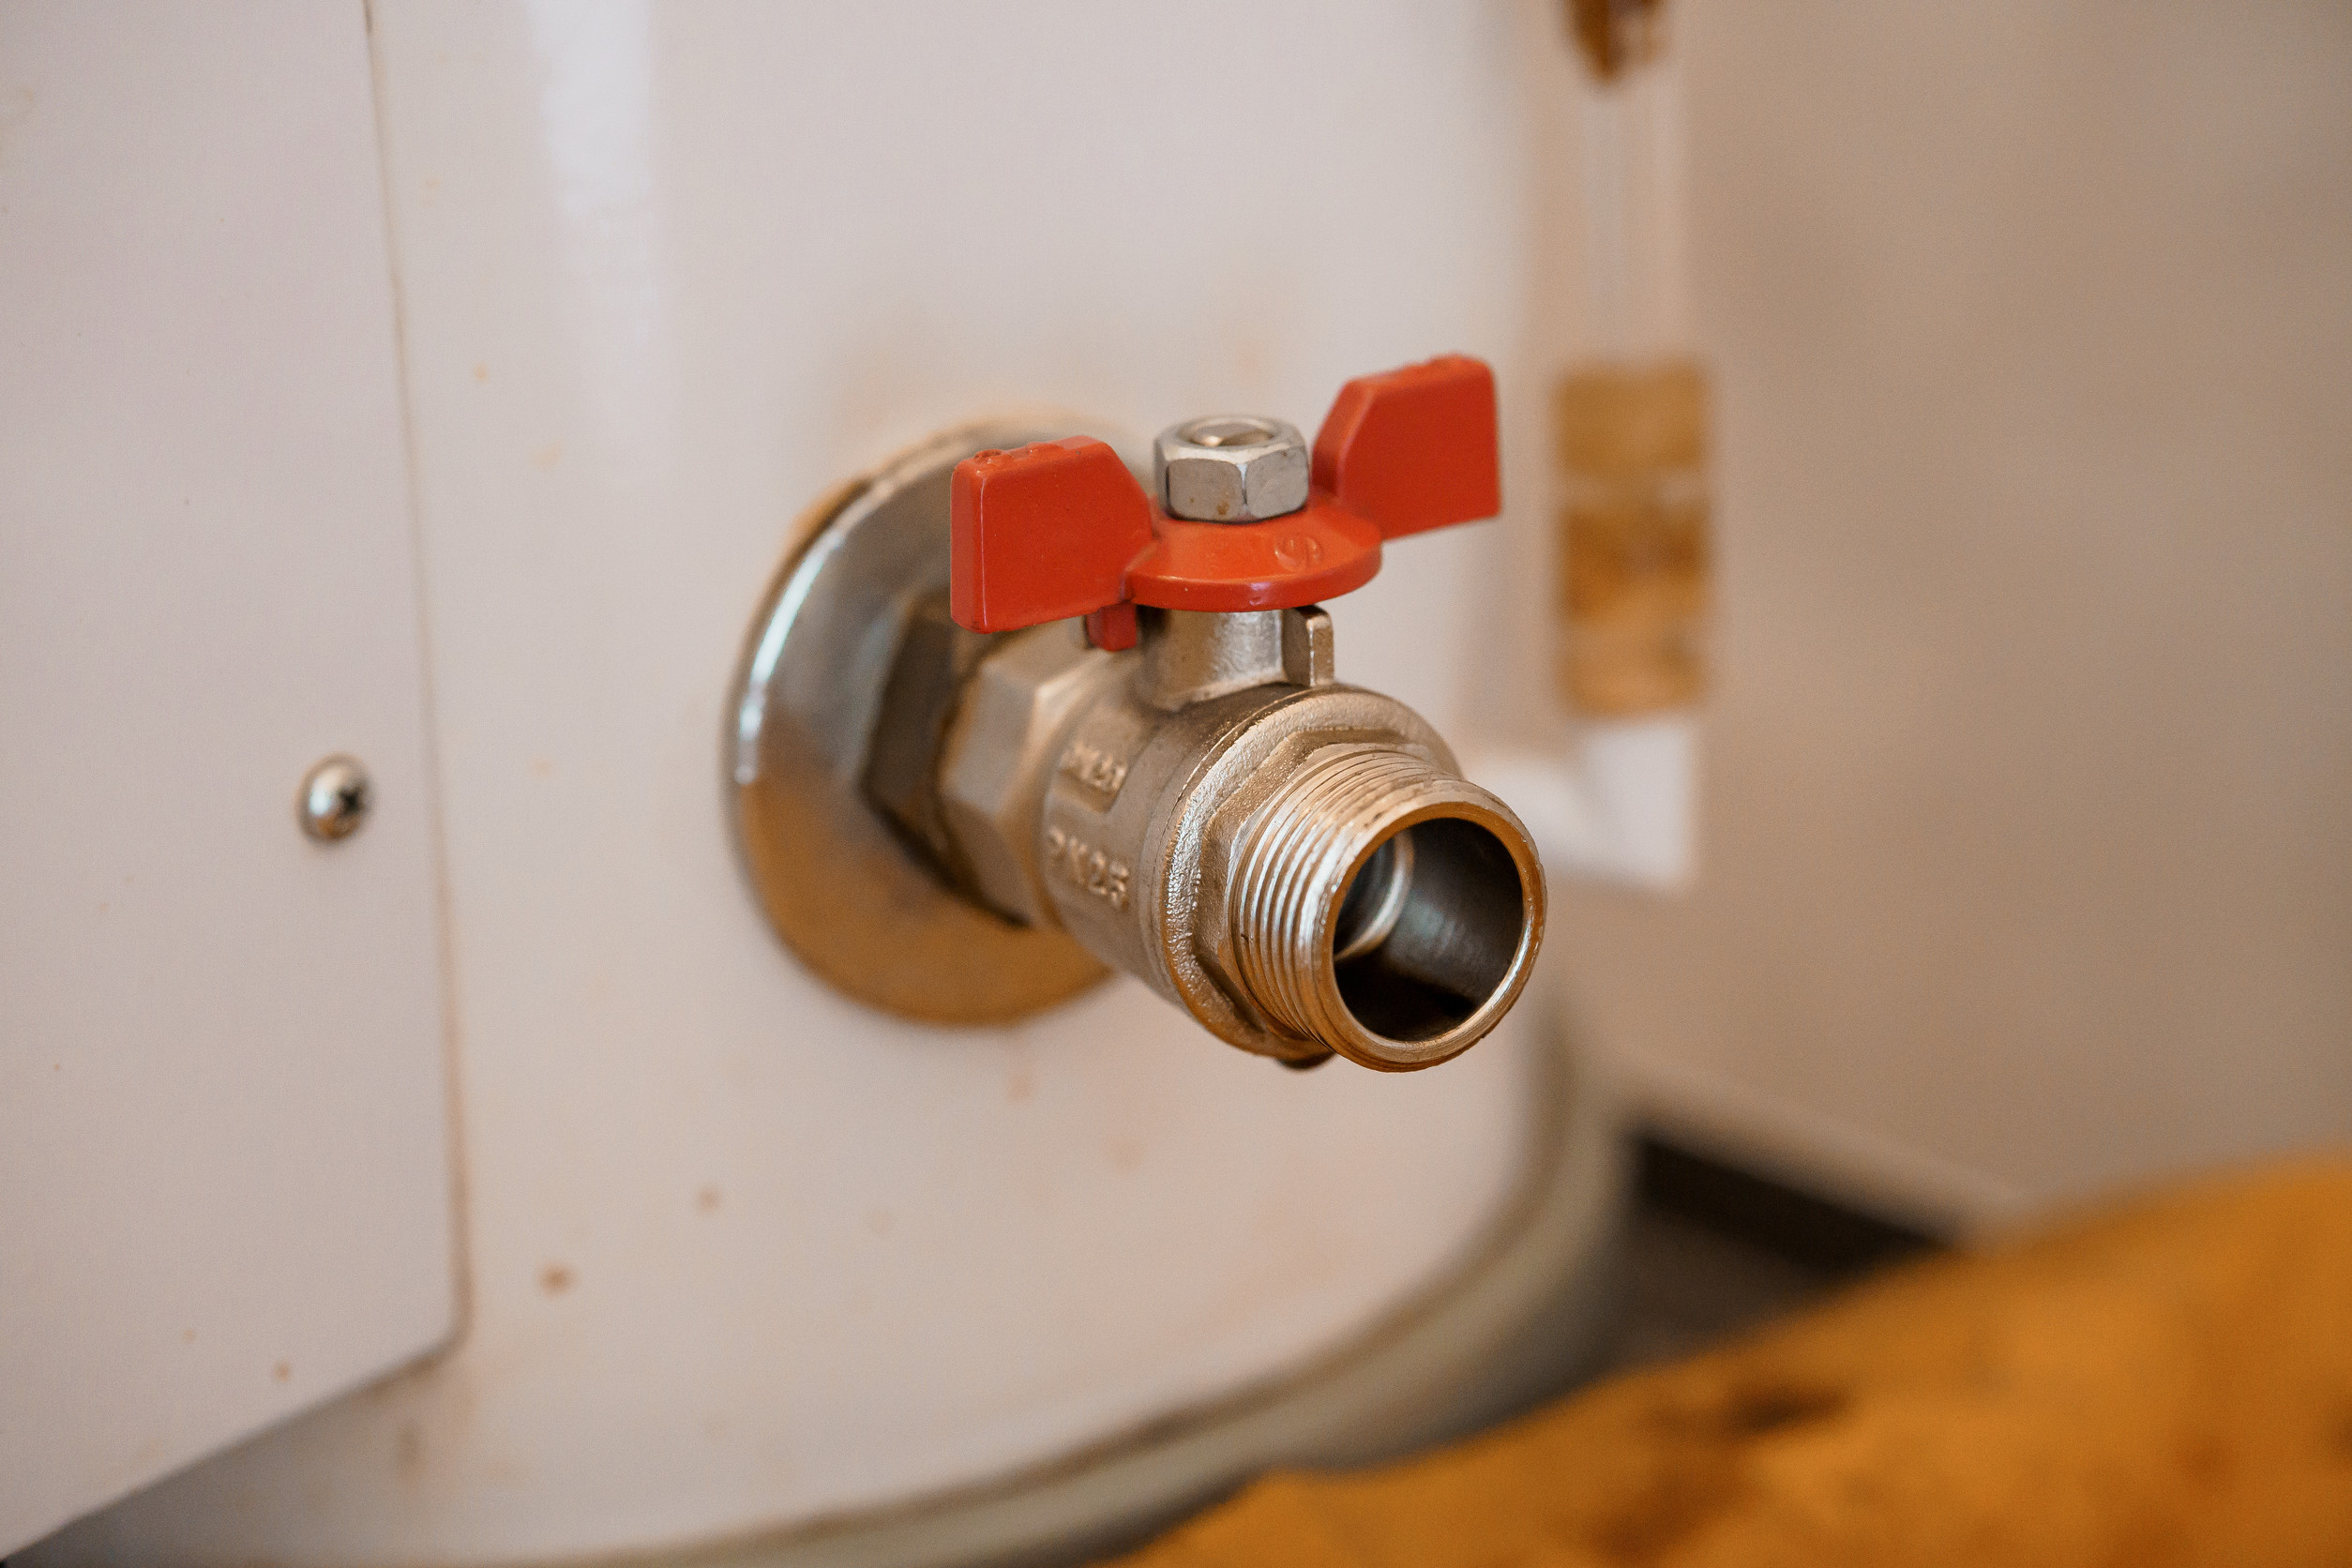
A water heater pressure relief valve — often called the temperature and pressure relief valve (T&P valve) — is one of the most important safety components in your home. It prevents dangerous pressure or temperature buildup inside the tank by releasing excess hot water when needed.
If this valve fails, your water heater can leak, malfunction, or in rare cases become a serious safety hazard. Knowing how to replace a faulty pressure valve can save time and money — but it's just as important to know when the job requires a licensed plumber.
This guide walks Dallas-Fort Worth homeowners through the full process step by step, including the signs your valve is failing, the safety precautions to take, and when to stop and call a professional.
What Does a Water Heater Pressure Relief Valve Do?
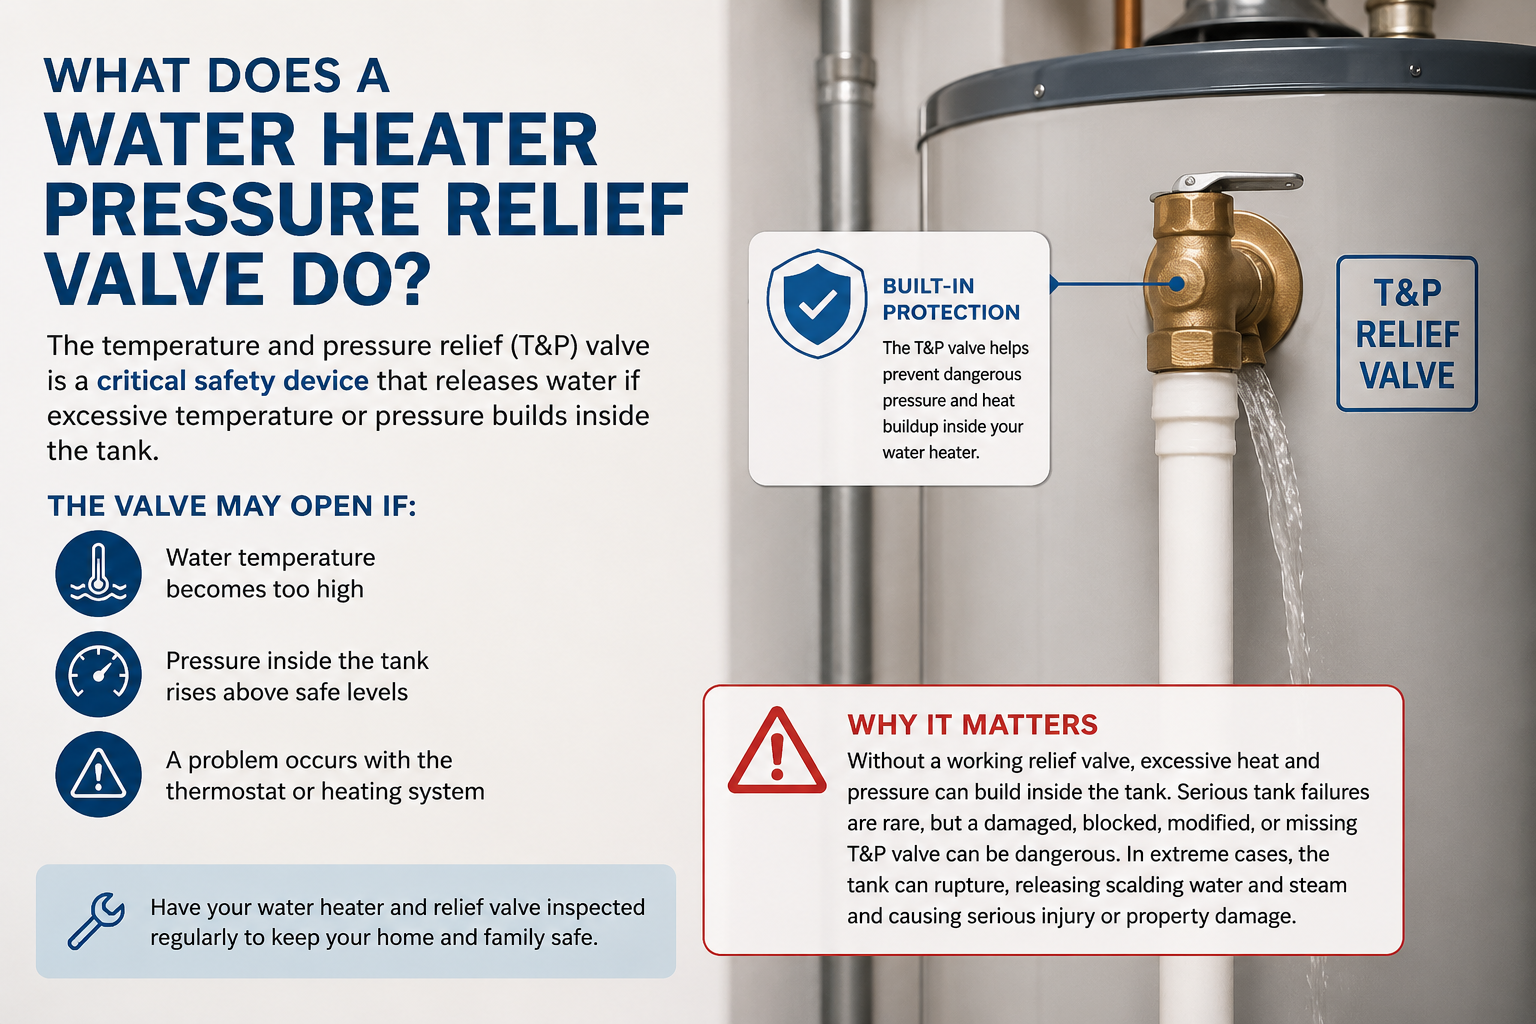
A water heater's temperature and pressure relief (T&P) valve is an important safety feature designed to release water if excessive temperature or pressure builds inside the tank.
The valve may open if:
- Water temperature becomes too high
- Pressure inside the tank rises above safe levels
- A problem occurs with the thermostat or heating system
Without a properly functioning relief valve, excessive heat and pressure can build inside the water heater. Serious tank failures are rare, but a damaged, blocked, modified, or missing T&P valve can create a dangerous situation if the water heater also overheats.
In extreme cases, excessive pressure can cause the tank to rupture, releasing scalding water and steam and potentially causing serious injury or property damage.
For this reason, it's important to have a leaking, damaged, or malfunctioning pressure relief valve inspected rather than simply ignoring the problem or attempting to block the discharge pipe.
Signs Your Pressure Relief Valve Needs Replacement
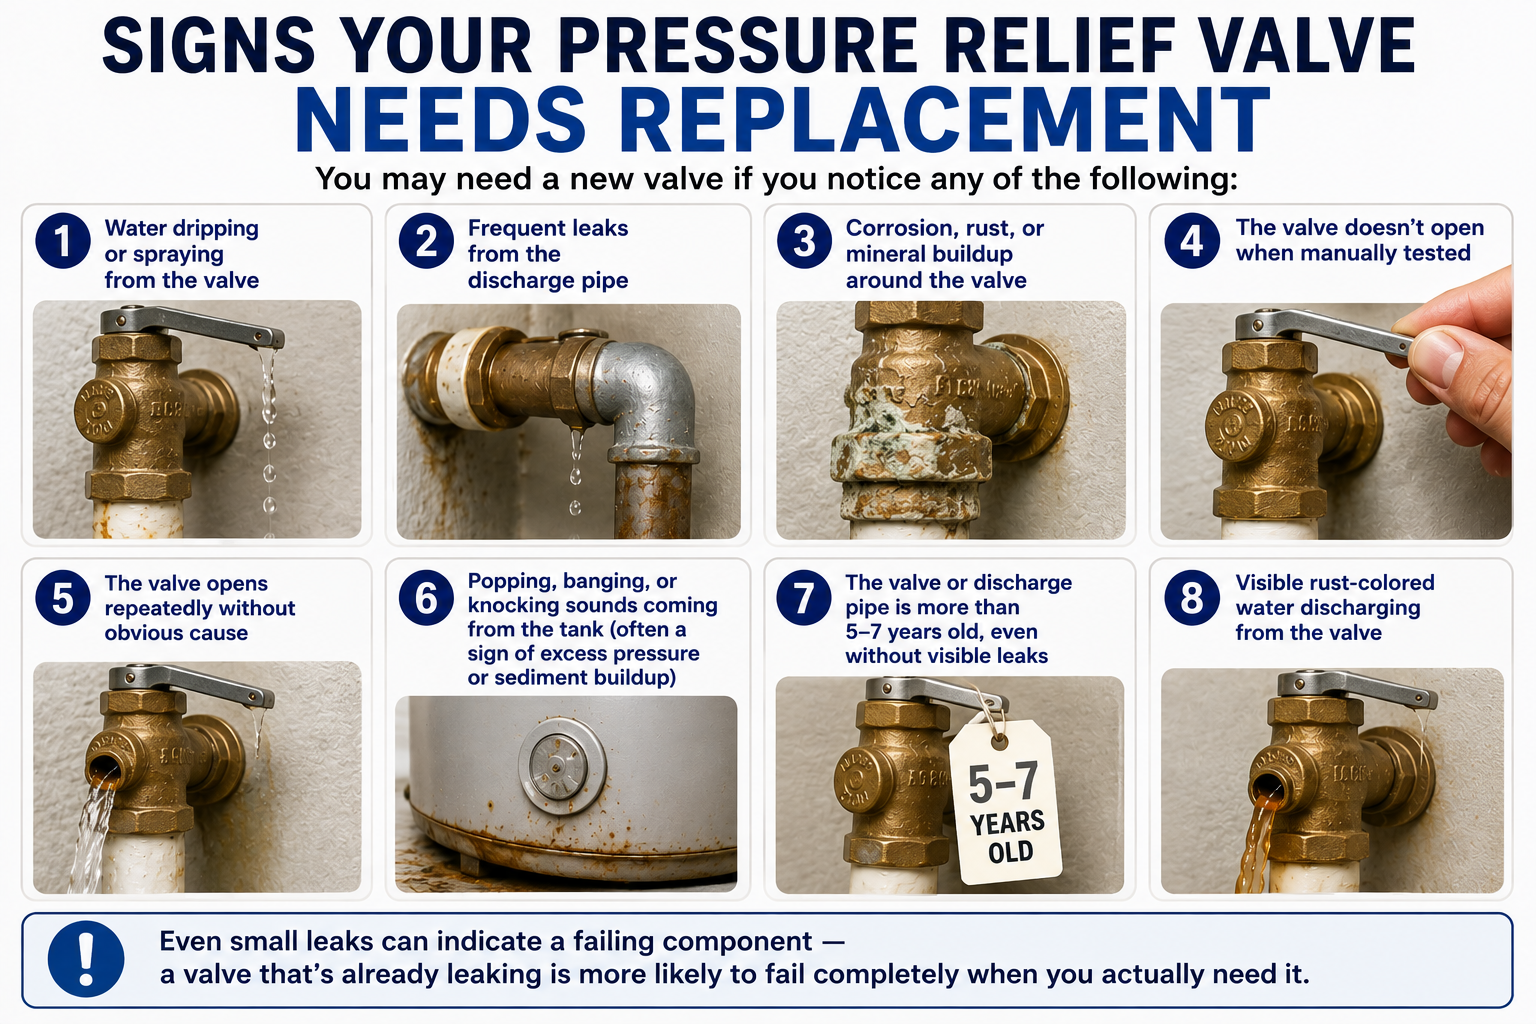
You may need a new valve if you notice any of the following:
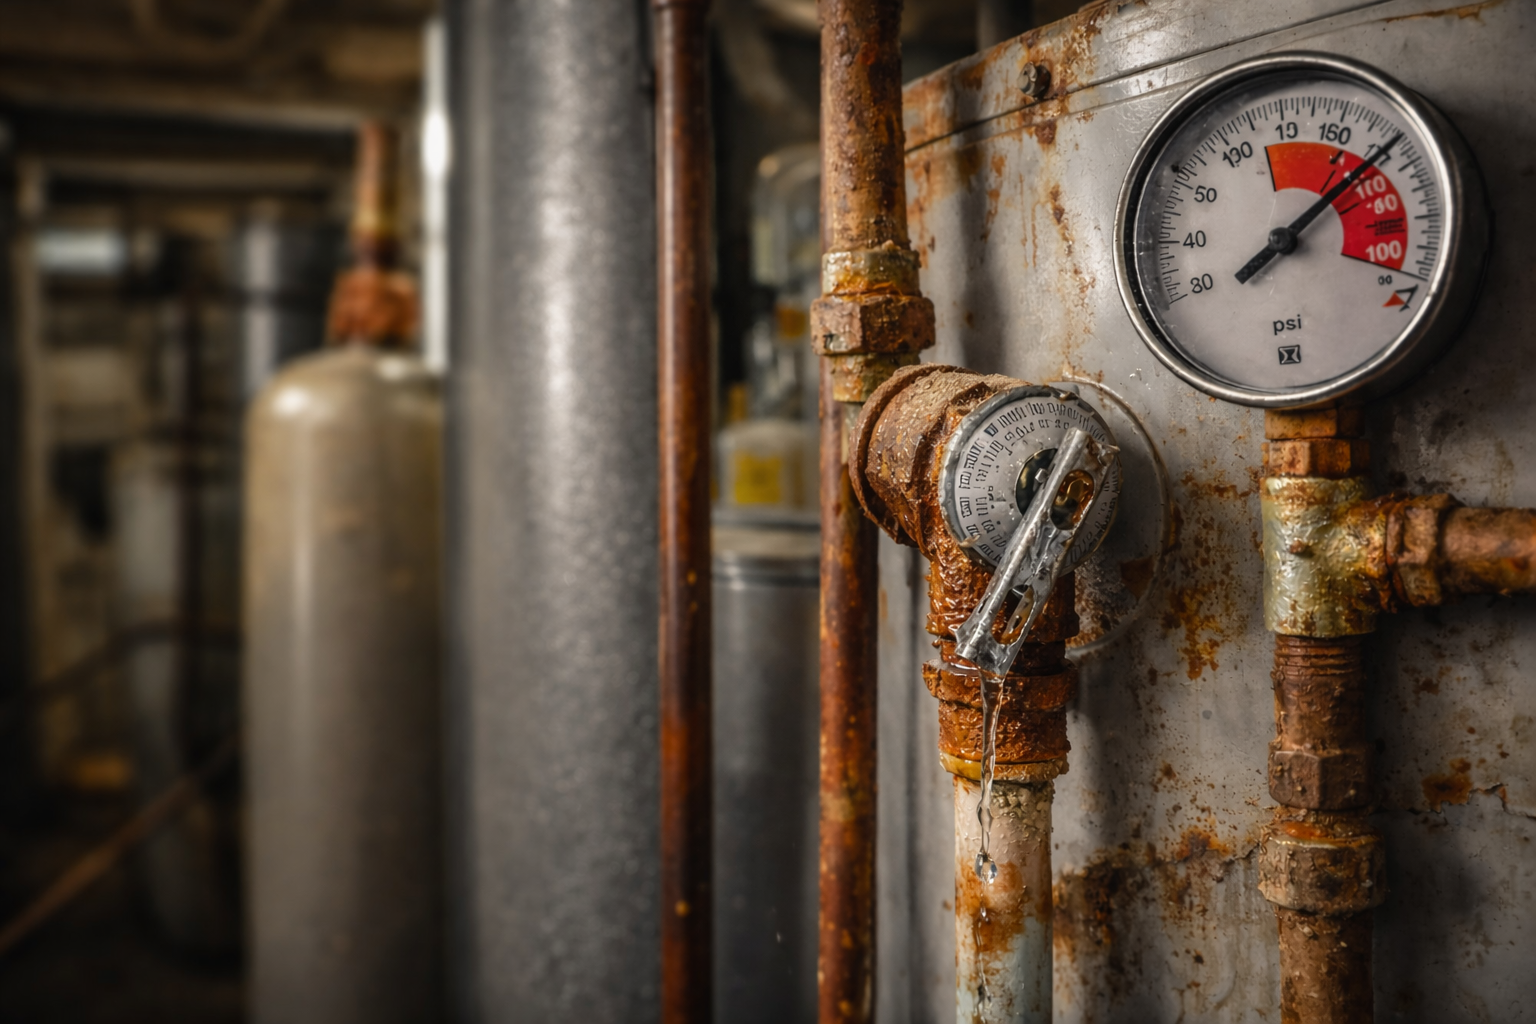
- Water dripping or spraying from the valve
- Frequent leaks from the discharge pipe
- Corrosion, rust, or mineral buildup around the valve
- The valve doesn't open when manually tested
- The valve opens repeatedly without obvious cause
- Popping, banging, or knocking sounds coming from the tank (often a sign of excess pressure or sediment buildup)
- The valve or discharge pipe is more than 5–7 years old, even without visible leaks
- Visible rust-colored water discharging from the valve
Even small leaks can indicate a failing component — a valve that's already weeping is one that's more likely to fail completely when you actually need it.
Safety Considerations Before You Start
Before attempting any repair, keep the following safety points in mind:
- Let the water cool first. Never work on a water heater immediately after use — the water inside can scald. Wait at least 1–2 hours after the heater was last running hot water.
- Wear gloves and eye protection. Residual pressure or hot water can spray unexpectedly when the valve is loosened.
- Never cap or plug the valve. Some homeowners are tempted to stop a leak by capping the discharge — this disables a critical safety device and can turn a minor leak into a serious hazard.
- Check for gas smell before working near a gas water heater. If you smell gas at any point, stop immediately, leave the area, and call your gas utility or a licensed plumber.
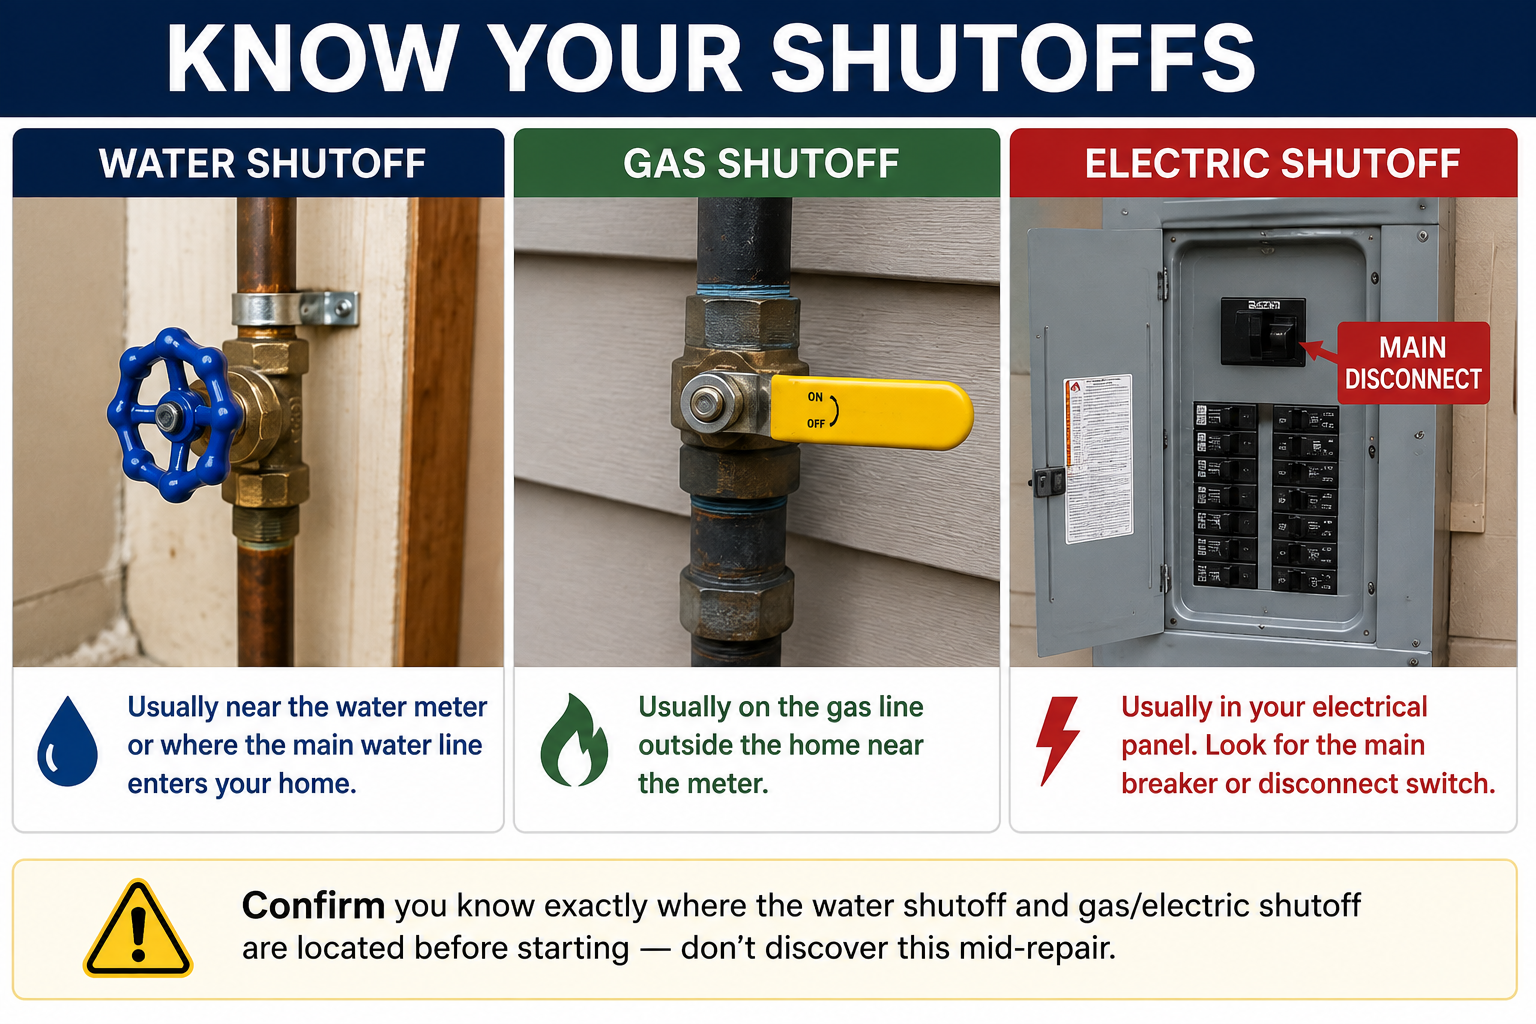
- Know your shutoffs. Confirm you know exactly where the water shutoff and gas/electric shutoff are located before starting — don't discover this mid-repair.
- Watch for signs of high system pressure. Such as banging pipes or a pressure relief valve that keeps opening after being replaced. This may point to a failing expansion tank or a home water pressure issue beyond the valve itself and should be diagnosed by a professional.
Pressure Valve Problems: DIY vs. Professional Help
Not every valve issue should be handled by a homeowner. Here's a quick comparison to help you decide:
| SituationCan You DIY?Recommended Action | ||
| Minor drip from discharge tube | Maybe | Test valve and monitor |
| Valve stuck or won't open | No | Call a professional |
| Corroded or seized valve | No | Professional replacement |
| Old water heater (10+ years) | No | Full inspection recommended |
| Basic replacement on newer unit | Possibly | Follow steps carefully |
| Hot water temperature issues | No | Diagnose system first |
| Repeated valve failure after replacement | No | Indicates a deeper pressure or thermostat issue |
Bottom line: If you're unsure at any point, it's safer to call a licensed water heater repair professional than risk an improper repair.
Tools and Materials You'll Need
Before starting, gather:
- Replacement T&P relief valve (matching size and pressure rating)
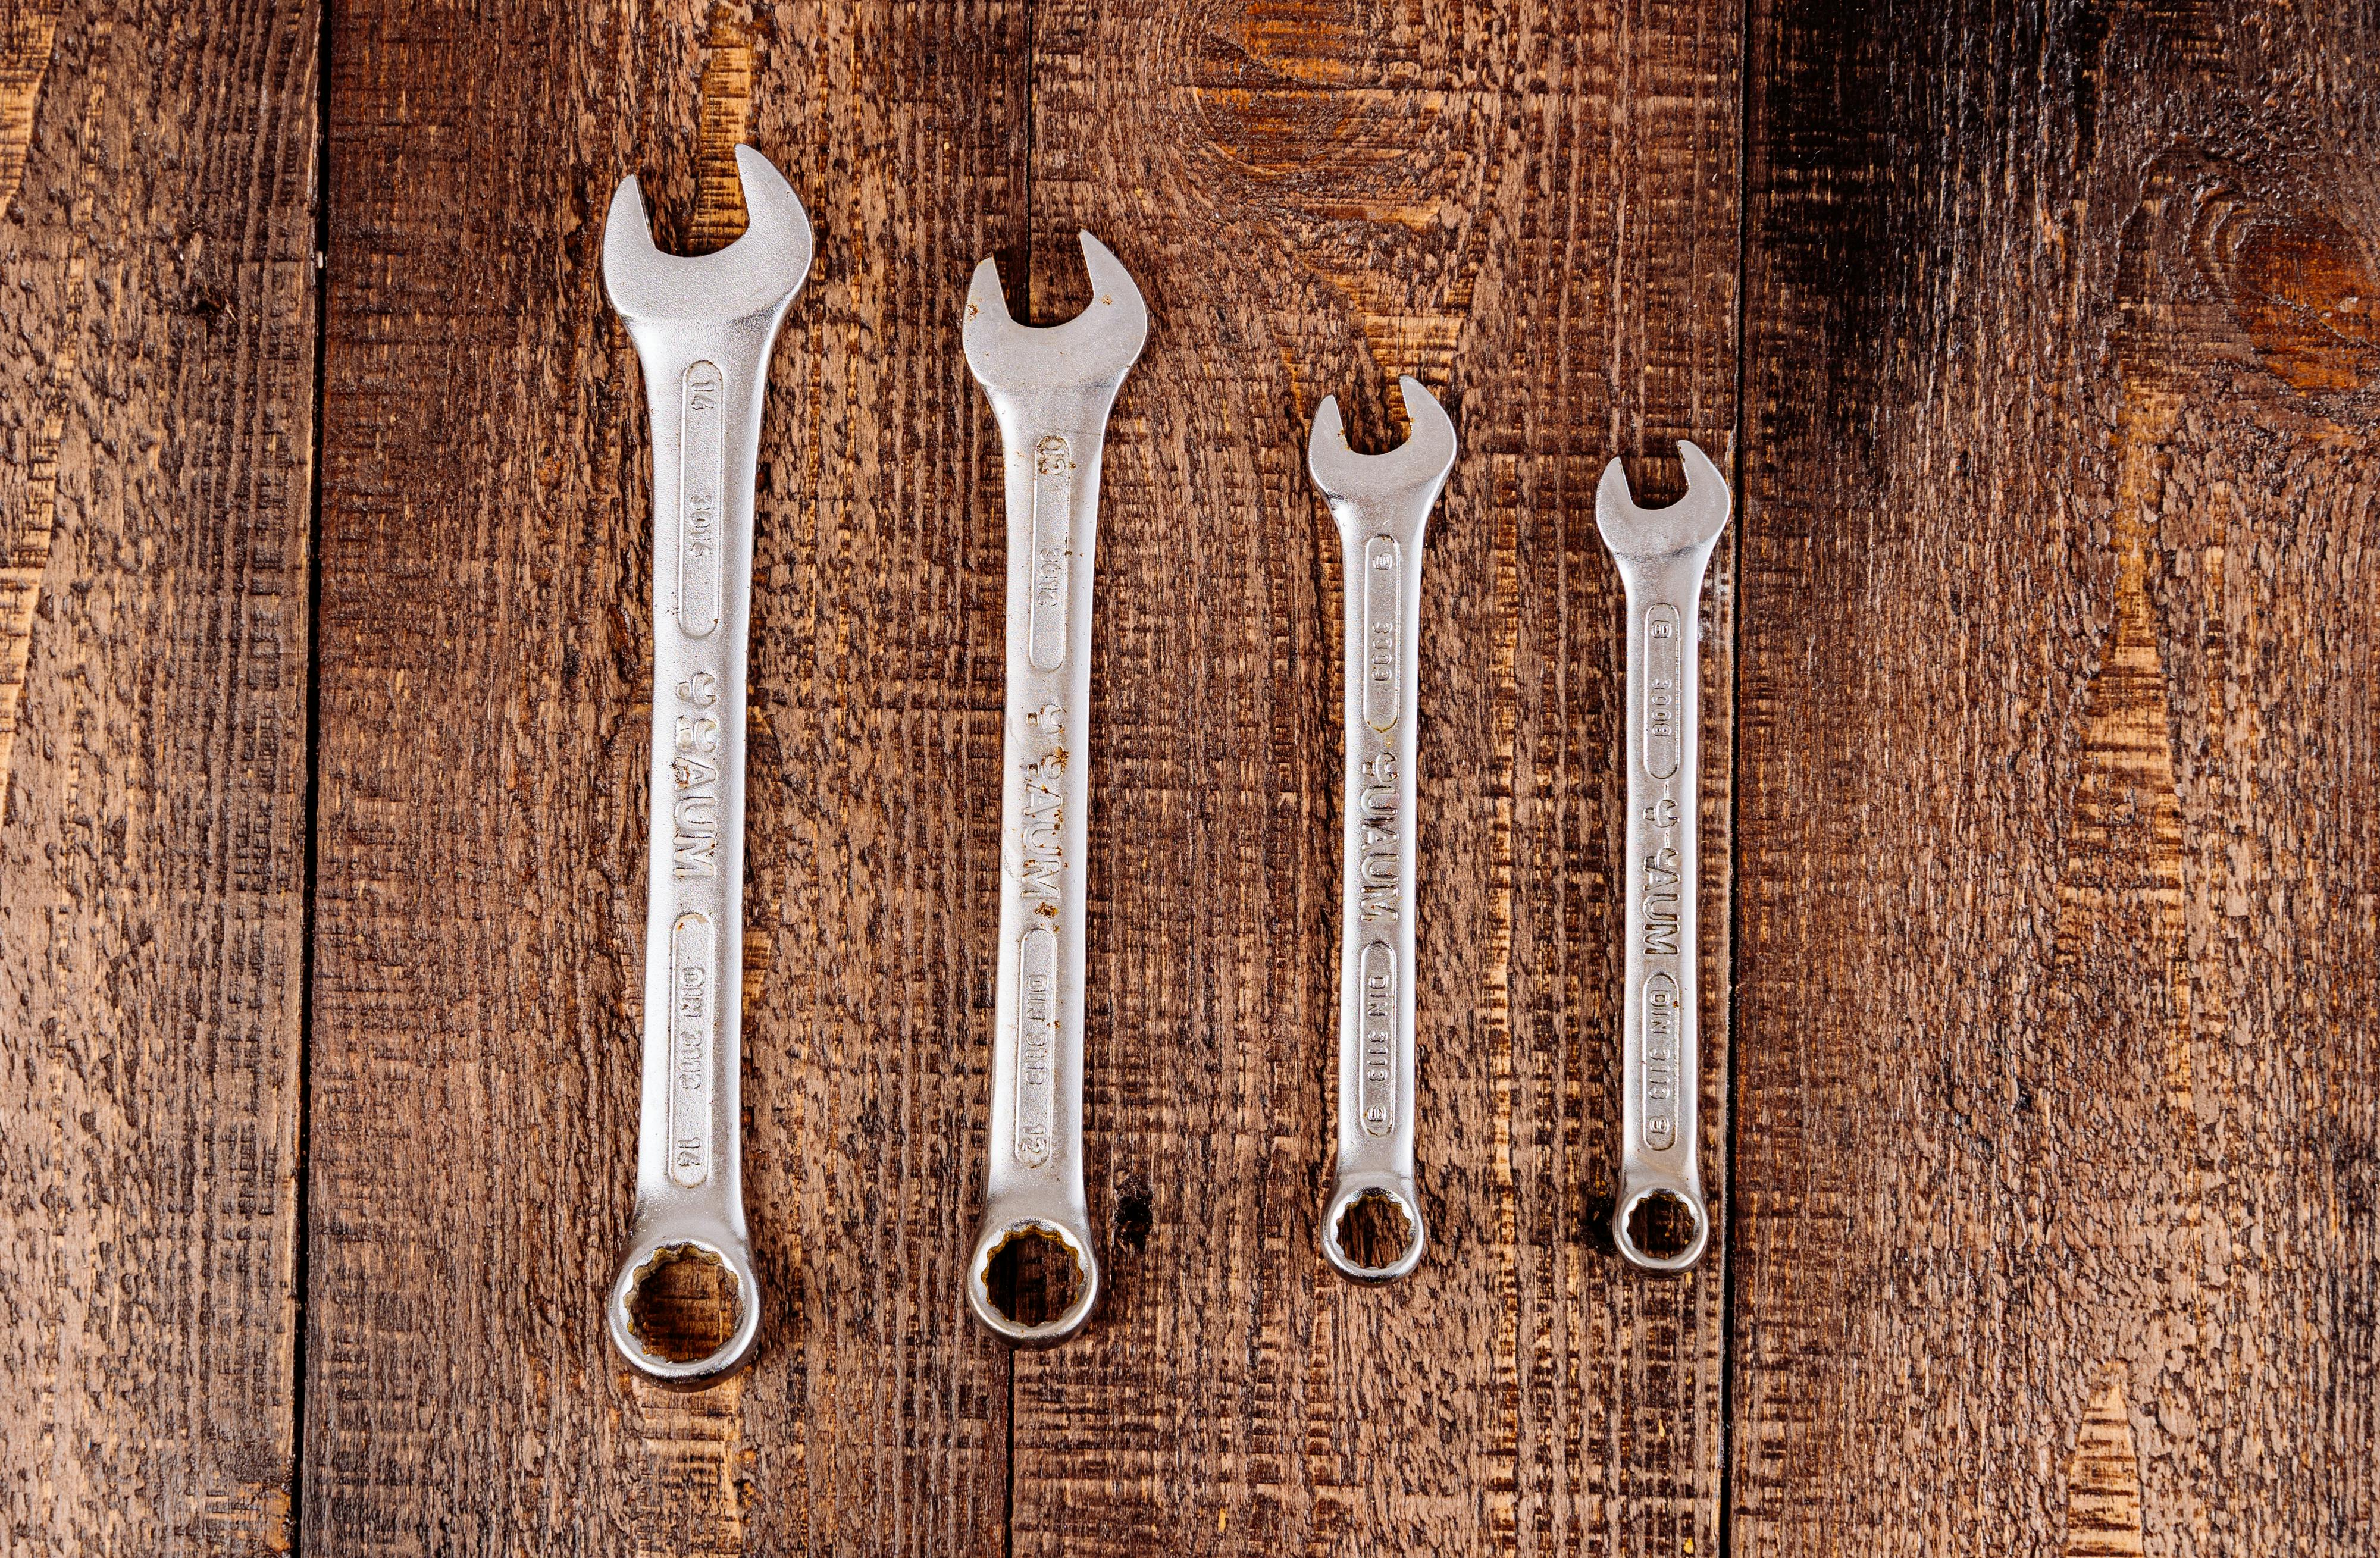
- Adjustable wrench or pipe wrench
- Teflon tape (aka plumber’s tape) or pipe thread sealant
- Bucket and towels
- Garden hose
- Flathead screwdriver
- Safety gloves and eye protection
Make sure the replacement valve is rated for your specific water heater's BTU input and pressure rating — using the wrong valve is one of the most common (and most dangerous) DIY mistakes.
Step-by-Step: How to Replace a Water Heater Pressure Relief Valve
Step 1: Turn Off the Power or Gas
For electric heaters: switch off the breaker
For gas heaters: set the gas control to "Pilot"
This prevents accidental heating during the repair.
Step 2: Shut Off the Water Supply
Locate the cold-water shutoff valve above the heater and turn it off.
Step 3: Relieve Pressure in the Tank
Attach a garden hose to the drain valve at the bottom of the tank and drain a few gallons of water into a bucket or floor drain. This lowers the internal pressure so the valve can be removed safely. Confirm the water has cooled before proceeding — do not skip this step.
Step 4: Remove the Discharge Pipe
Unscrew the pipe connected to the relief valve. Keep it aside — you'll reinstall it, or replace it if it's corroded.
Step 5: Unscrew the Old Valve
Using a wrench, carefully turn the old valve counterclockwise until it comes free.
If the valve is heavily corroded or stuck, stop here — forcing it can damage the tank fitting and turn a simple repair into a full water heater replacement.
Step 6: Install the New Valve
Wrap Teflon tape around the threads of the new valve
Screw it into place by hand
Tighten it snugly with a wrench. Do not overtighten; this can crack the valve body.
Step 7: Reattach the Discharge Pipe
Reconnect the pipe to the new valve and ensure it points downward toward a safe drainage location, terminating within the height required by local plumbing code.
Step 8: Restore Water and Power
- Turn the water supply back on
- Refill the tank
- Turn power or gas back on
- Check carefully for leaks at the valve threads and discharge pipe connection
If everything stays dry after 15–20 minutes, the replacement was successful.
Common Mistakes to Avoid
- Using the wrong valve size or pressure rating
- Forgetting to relieve tank pressure first
- Overtightening the new valve
- Reusing an old, corroded discharge pipe
- Ignoring ongoing leaks after replacement
- Capping or plugging the valve instead of replacing it
- Skipping the cooldown period and working on a hot tank
These errors can lead to bigger problems than the original issue — and in some cases, void your water heater's warranty.
When You Should NOT Attempt DIY Replacement
Call a professional plumber if:
- The valve is rusted or won't budge
- Your water heater is very old (10+ years)
- You notice repeated valve failures
- You suspect high system pressure
- You smell gas at any point
- You're uncomfortable working with plumbing systems
A leaking valve can sometimes indicate deeper problems like faulty thermostats, sediment buildup, or dangerously high water pressure, issues that require expert diagnosis, not just a new part. Our team offers full water heater repair and replacement services throughout Dallas-Fort Worth if you'd rather leave it to a licensed pro.
Why Professional Help Matters
While replacing a relief valve may look simple, it directly affects the safety of your entire water heater system. A licensed plumber ensures:
- Proper valve selection (correct BTU and pressure rating)
- Correct installation and torque
- System pressure testing
- Identification of underlying issues (expansion tank, thermostat, sediment)
- Code-compliant repairs
This protects your home from leaks, scalding water, and — in worst-case scenarios — tank failure.
How Often Should a Pressure Relief Valve Be Replaced?
Most manufacturers recommend testing the valve every 3–6 months and replacing it every 3–5 years, or sooner if problems arise. Regular maintenance, including annual water heater inspection, can catch valve wear before it causes a leak or failure.
Frequently Asked Questions
Can I just cap off a leaking pressure relief valve?
No. Never block or cap a relief valve — it is a critical safety device, and disabling it removes your water heater's primary protection against overheating and overpressure.
Why does my new valve still drip?
Dripping after replacement can indicate high water pressure, thermal expansion, or a missing/failing expansion tank rather than a bad valve. This is a common sign that a deeper issue needs diagnosis.
Is it normal for the valve to release water occasionally?
Yes — small releases during heating cycles can be normal. Constant leaking, spraying, or dripping is not, and should be addressed right away.
How long does replacement take?
For a licensed plumber, usually less than an hour. DIY replacement can take longer, especially if the old valve is corroded or the discharge pipe needs replacing too.
How much does it cost to replace a water heater pressure relief valve?
Parts alone typically run $15–$40, but professional replacement including labor, diagnosis, and code-compliant installation is usually more cost-effective than a DIY repair gone wrong — especially if hidden pressure issues are causing the failure.
Is a leaking pressure relief valve an emergency?
A slow drip usually isn't an emergency, but a valve that's spraying, won't stop discharging, or that you suspect has failed completely should be treated urgently — shut off the water heater and call a plumber the same day.
What is the "3 rule" for pressure relief valves?
The "3 rule" is a general guideline: test the valve roughly every 3 months, plan to replace it around every 3 years, and ensure it discharges to a safe location — commonly cited as within a few feet of the floor per local plumbing code. Always confirm the exact requirement with your local code, since it can vary by jurisdiction.
Need Help? Call Blue Moon Plumbing
If your water heater pressure relief valve is leaking, stuck, or acting up, don't risk doing the job incorrectly. Blue Moon Plumbing provides fast, reliable water heater repair and replacement services throughout the Dallas-Fort Worth area.
Our licensed plumbers can:
- ✔ Diagnose the real cause of valve problems
- ✔ Replace faulty components safely and to code
- ✔ Check water pressure and temperature settings
- ✔ Ensure your water heater operates safely for years to come
- Call (469) 328-3243 or request a free quote online for fast water heater service in DFW.
Final Thought
Replacing a water heater pressure relief valve can be a manageable DIY task in some situations — but it's also a critical safety repair. When in doubt, trust the licensed professionals at Blue Moon Plumbing to get the job done right the first time.